

🖨️ Print Smart, Save Big!
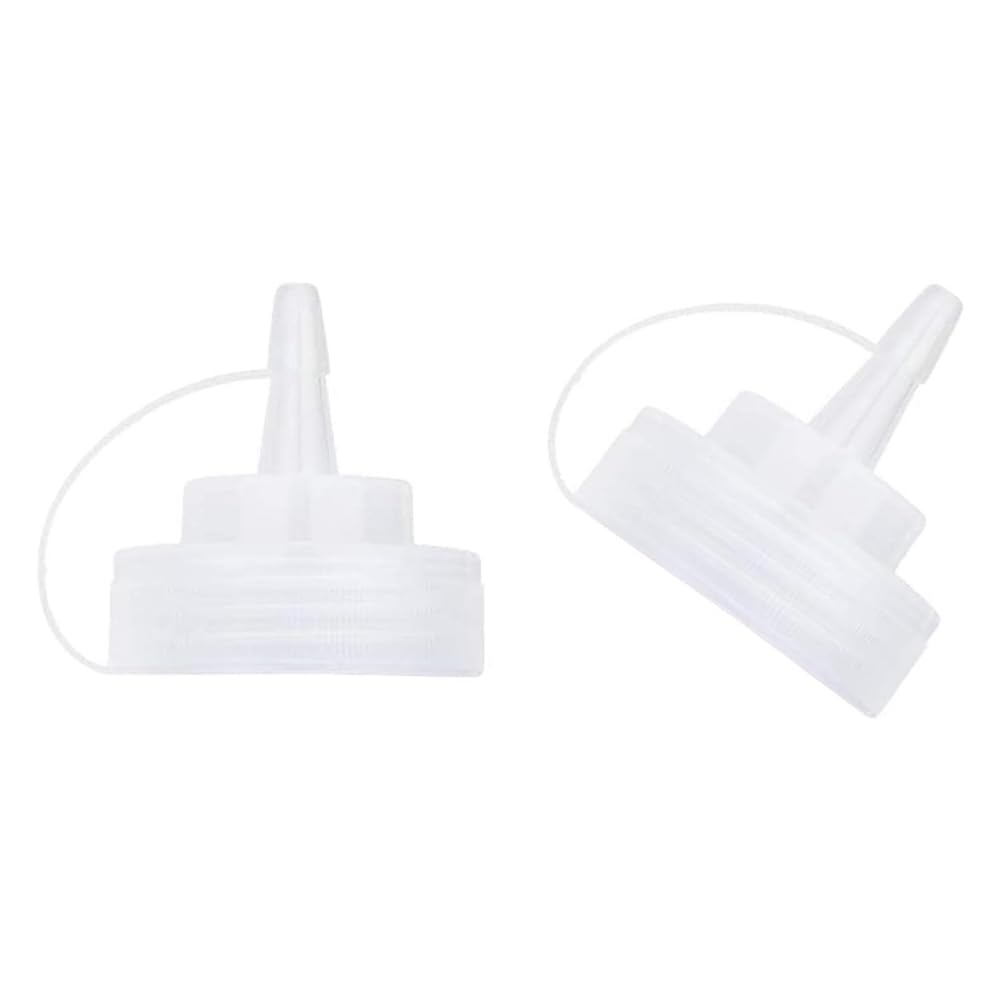
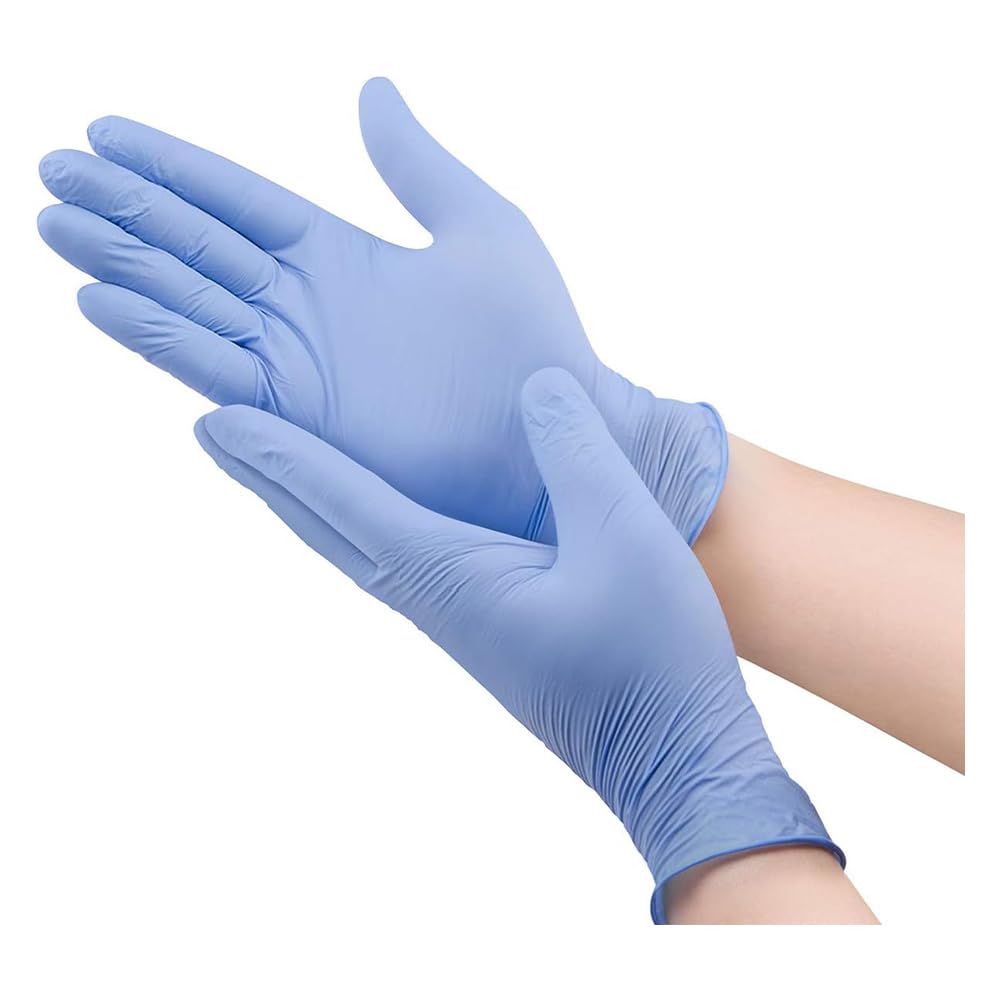
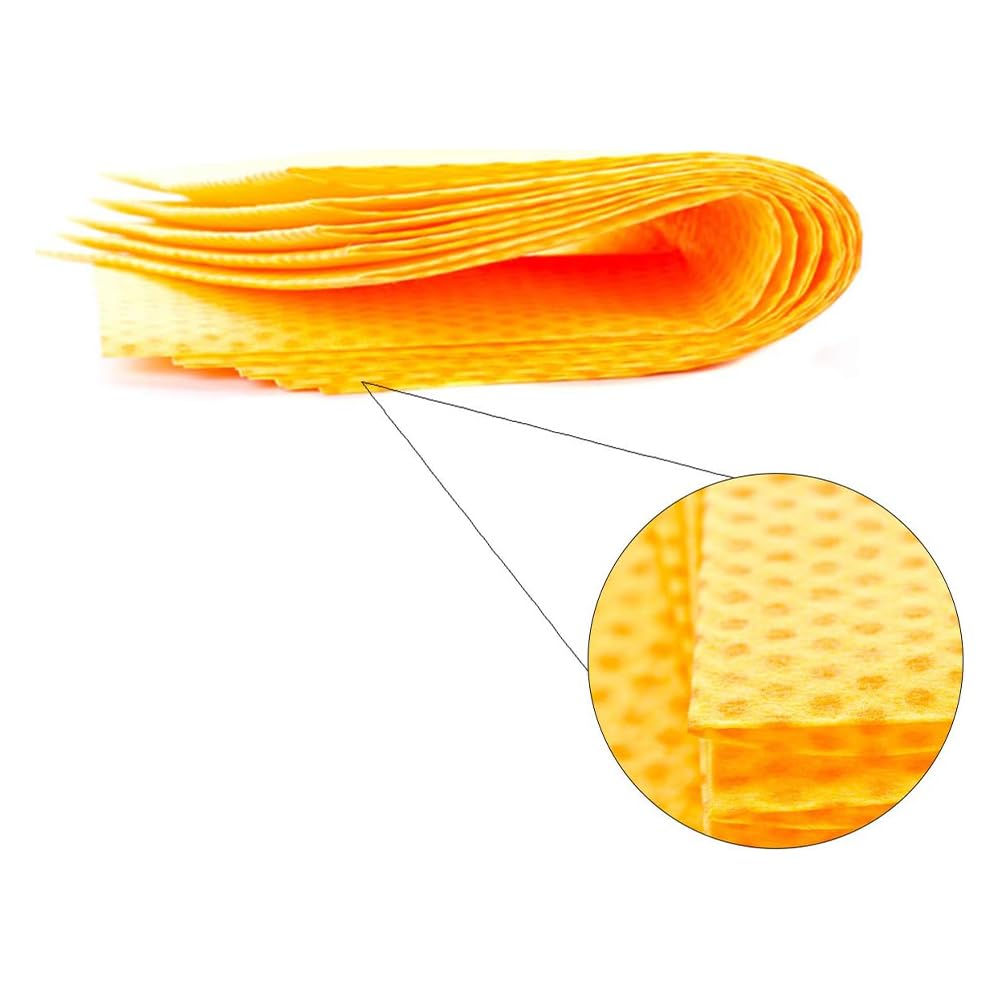
The Laser Tek Services TN450 Refill Kit is a compatible toner refill solution for Brother printers, offering a remarkable page yield of 2,600 pages. This kit includes everything you need for a hassle-free refill experience, including toner bottles, easy instructions, a funnel cap, latex gloves, and toner wipes. With a 1-year warranty and patented toner powder, this eco-friendly option is perfect for professionals looking to maximize their printing efficiency.
| Additional Features | 1-year warranty, patented compatible toner powder |
| Dual-sided printing | No |
| Page Yield | 2600 |
| Compatibility Options | Refilled Cartridge |
| Color | Black |
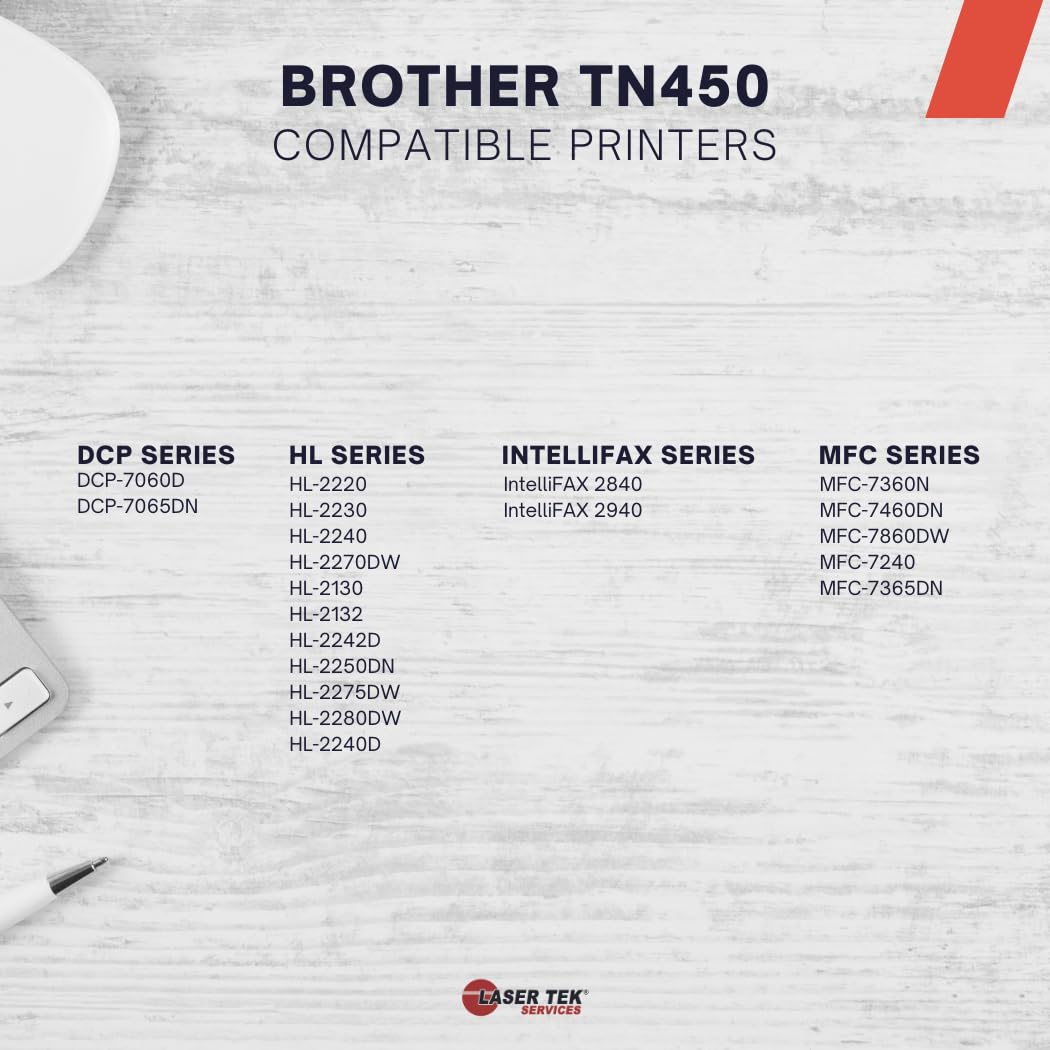
| Compatible Devices | Brother DCP7065DN, DCP7060D, HL2270DW, HL2280DW, HL2240, HL2220, HL2275DW, HL2130, HL2230, HL2240D, HL2250DN, HL2242D, MFC7360N, MFC7240, MFC7365DN, MFC7460DN, MFC7860DW |
| Item Weight | 4.8 ounces |
A**A
Saved a lot of money and works fine
Pretty simple to refill the cartridge, though getting the plug out was a bit more work to not damage than I expected. It is pretty solidly in there. So I pried slowly with a screwdriver until it lifted enough that I could grab it with pliers. Re-setting the indicator is easy, but is also easy to have the parts pop off, so going slow makes sense as well. Not impossible to figure out how things go back on, from available videos that show how to reset it, but better to be careful in the first place so it just takes rotating the indicator and putting the cover back on.The toner works just fine, with the only difference I notice is there's a different smell than with OEM toner from the printouts. But the printouts are just like OEM toner, which is what counts. I don't know how many times the cartridge can be refilled until things start wearing out, but I'm definitely going to keep doing refills until I get performance issues. It is so much cheaper than buying a new cartridge.
C**E
Ridiculously simple way to save money.
I have been using my Brother printer in support of a number of youth organizations (JROTC, Boy Scouts, Church Youth Group, etc) I volunteer with. I do a lot of printing and I was looking for a cheaper solution for printer cartridges. A quick search of the internet and a few You Tube videos convinced me self-refilling was worth a try. Since these printers don't cost much more than a new printer cartridge, I figured I had little to lose if this fouled up the printer. Well, I am amazed at how easy this was. I like the fact this kit comes with a wide mouth funnel, a cleaning cloth that is statically charged to catch the printer dust and a really good set of instructions with color pictures (better than any of the videos I looked at). It came with gloves which I didn't use, but I think its a nice touch. Getting the end cap off the cartridge was a little challenging, but the instructions have a tip about using needle nose pliers which did the trick with little effort and no damage to the end cap some other reviewers mentioned. First time it took me almost ten minutes from start to printing. Print quality is very good, at least as good as the cartridge when new.Pros:- Quality Instructions- Included cleaning cloth- Included gloves- Wide Mouthed funnel for putting ink it cartridge- Quality padded packaging so you don't open an envelope of loose ink dustCons: None
S**1
Worst case scenario
Holy cowpuckies Batman! It worked! I have to say, I was skeptical. This is the first time I have attempted to refill a toner cartridge, having thrown away probably a hundred (or sent them back to the manufacturer for HP ones). The Brother 2240 printer is less than $100 in several places, but the carts can go for $70 or more ($50 here on Amazon). That is CRAZY!I thought, what the heck. Worst case scenario, I have to replace the printer if the toner cooks it. When I opened the box I found a padded envelope with the toner bottle, gloves (I know toner is toxic, but I didn't bother with the gloves, I do not work with it THAT much) a fabric cloth that was great for covering work surface and clean up and the funnel cap for the bottle. It also included VERY good and clearly written instructions with color photographs. I suggest doing the process in reverse... Remove two screws and a cover, pop a gear off, turn it and put it back on, replace screws and cover. THEN, I suggest doing the toner itself. This way the messy part is at the end and you can do all your clean up at once. I used my finger nails to remove the plug, but GENTLY using a butter knife or screwdriver would also work. I did not want to put a hole in the plug, so I used my nails. Shake out all the old toner (some folks suggest blowing out with compressed air, I skipped this and did not seem to have any ill effects, maybe on my second fill I will do it). I smacked the cartridge around a bit and it seemed to clear out pretty cleanly. Smack the bottle around a bit to loosed all the toner, remove cap, remove safety seal (a bit of a challenge but cutting with a knife and then peeling would probably work best), put on funnel cap, invert into fill hole and GENTLY tap on the bottle. DO NOT SQUEEZE. You will get a cloud of toner all over yourself. After toner is clear of bottle, put plug in, close funnel cap and toss. Holding horizontal, gently shake the cart back and forth from left to right a few times to help distribute the toner. Place in printer and smile as you save yourself $50 for ten minutes work!AWESOME! I will totally order from these guys again! Thanks so much!
A**R
Good value for the money, works well, here are a few tips & tricks
I was a bit skeptical about whether this would actually work as well as a new toner cartridge that costs 5x more, but I was pleasantly surprised—so, far, it works great!A few caveats: it does take about 10-15 minutes to take apart the old cartridge, insert the new toner, and then get everything back up and running. In my case, the corona (a piece of the toner carrier/cradle) had somehow moved, so at first, I was getting a black line down my printouts, but a quick Google search had that fixed in no time. For noobs (like me), here's a few words of advice that will make your experience as painful and non-messy as possible:1. Do the toner refill/replacement process over a surface area that you can easily mop up (e.g. your kitchen, not over carpet!)2. Wear clothing that you don't mind getting stained or wear an apron/smock. There's not a lot of toner spillage, but I was very careful and still ended up with some on my legs (!?!?).3. Don't forget to use the rag/gloves that are included in the kit. The instructions don't mention them anywhere, so just be sure to start using them as soon as you open the package and start the replacement process.4. You need pliers and a screwdriver for this. I can't see how you'd easily do it without both of these tools. The toner cap in particular was kind of a pain to remove (but pliers saved the day!).5. I think this is one of those products that's sort of a headache to use the first time, but awesome once you've figured it out—I would definitely do it again, and am fairly confident that it will be easier the second time around.Totally worth the money, and a great value compared to buying a new toner cartridge every time.
Trustpilot
1 week ago
3 days ago