


✨ Elevate Your Surfaces with Style! ✨
The Stone Coat Countertops Epoxy Kit (1 Gal) is a premium epoxy resin designed for DIY enthusiasts and professionals alike. It offers a crystal clear finish, heat resistance up to 470°F, zero VOCs for safety, self-leveling properties for easy application, and UV resistance to maintain its beauty over time.
J**N
Wow
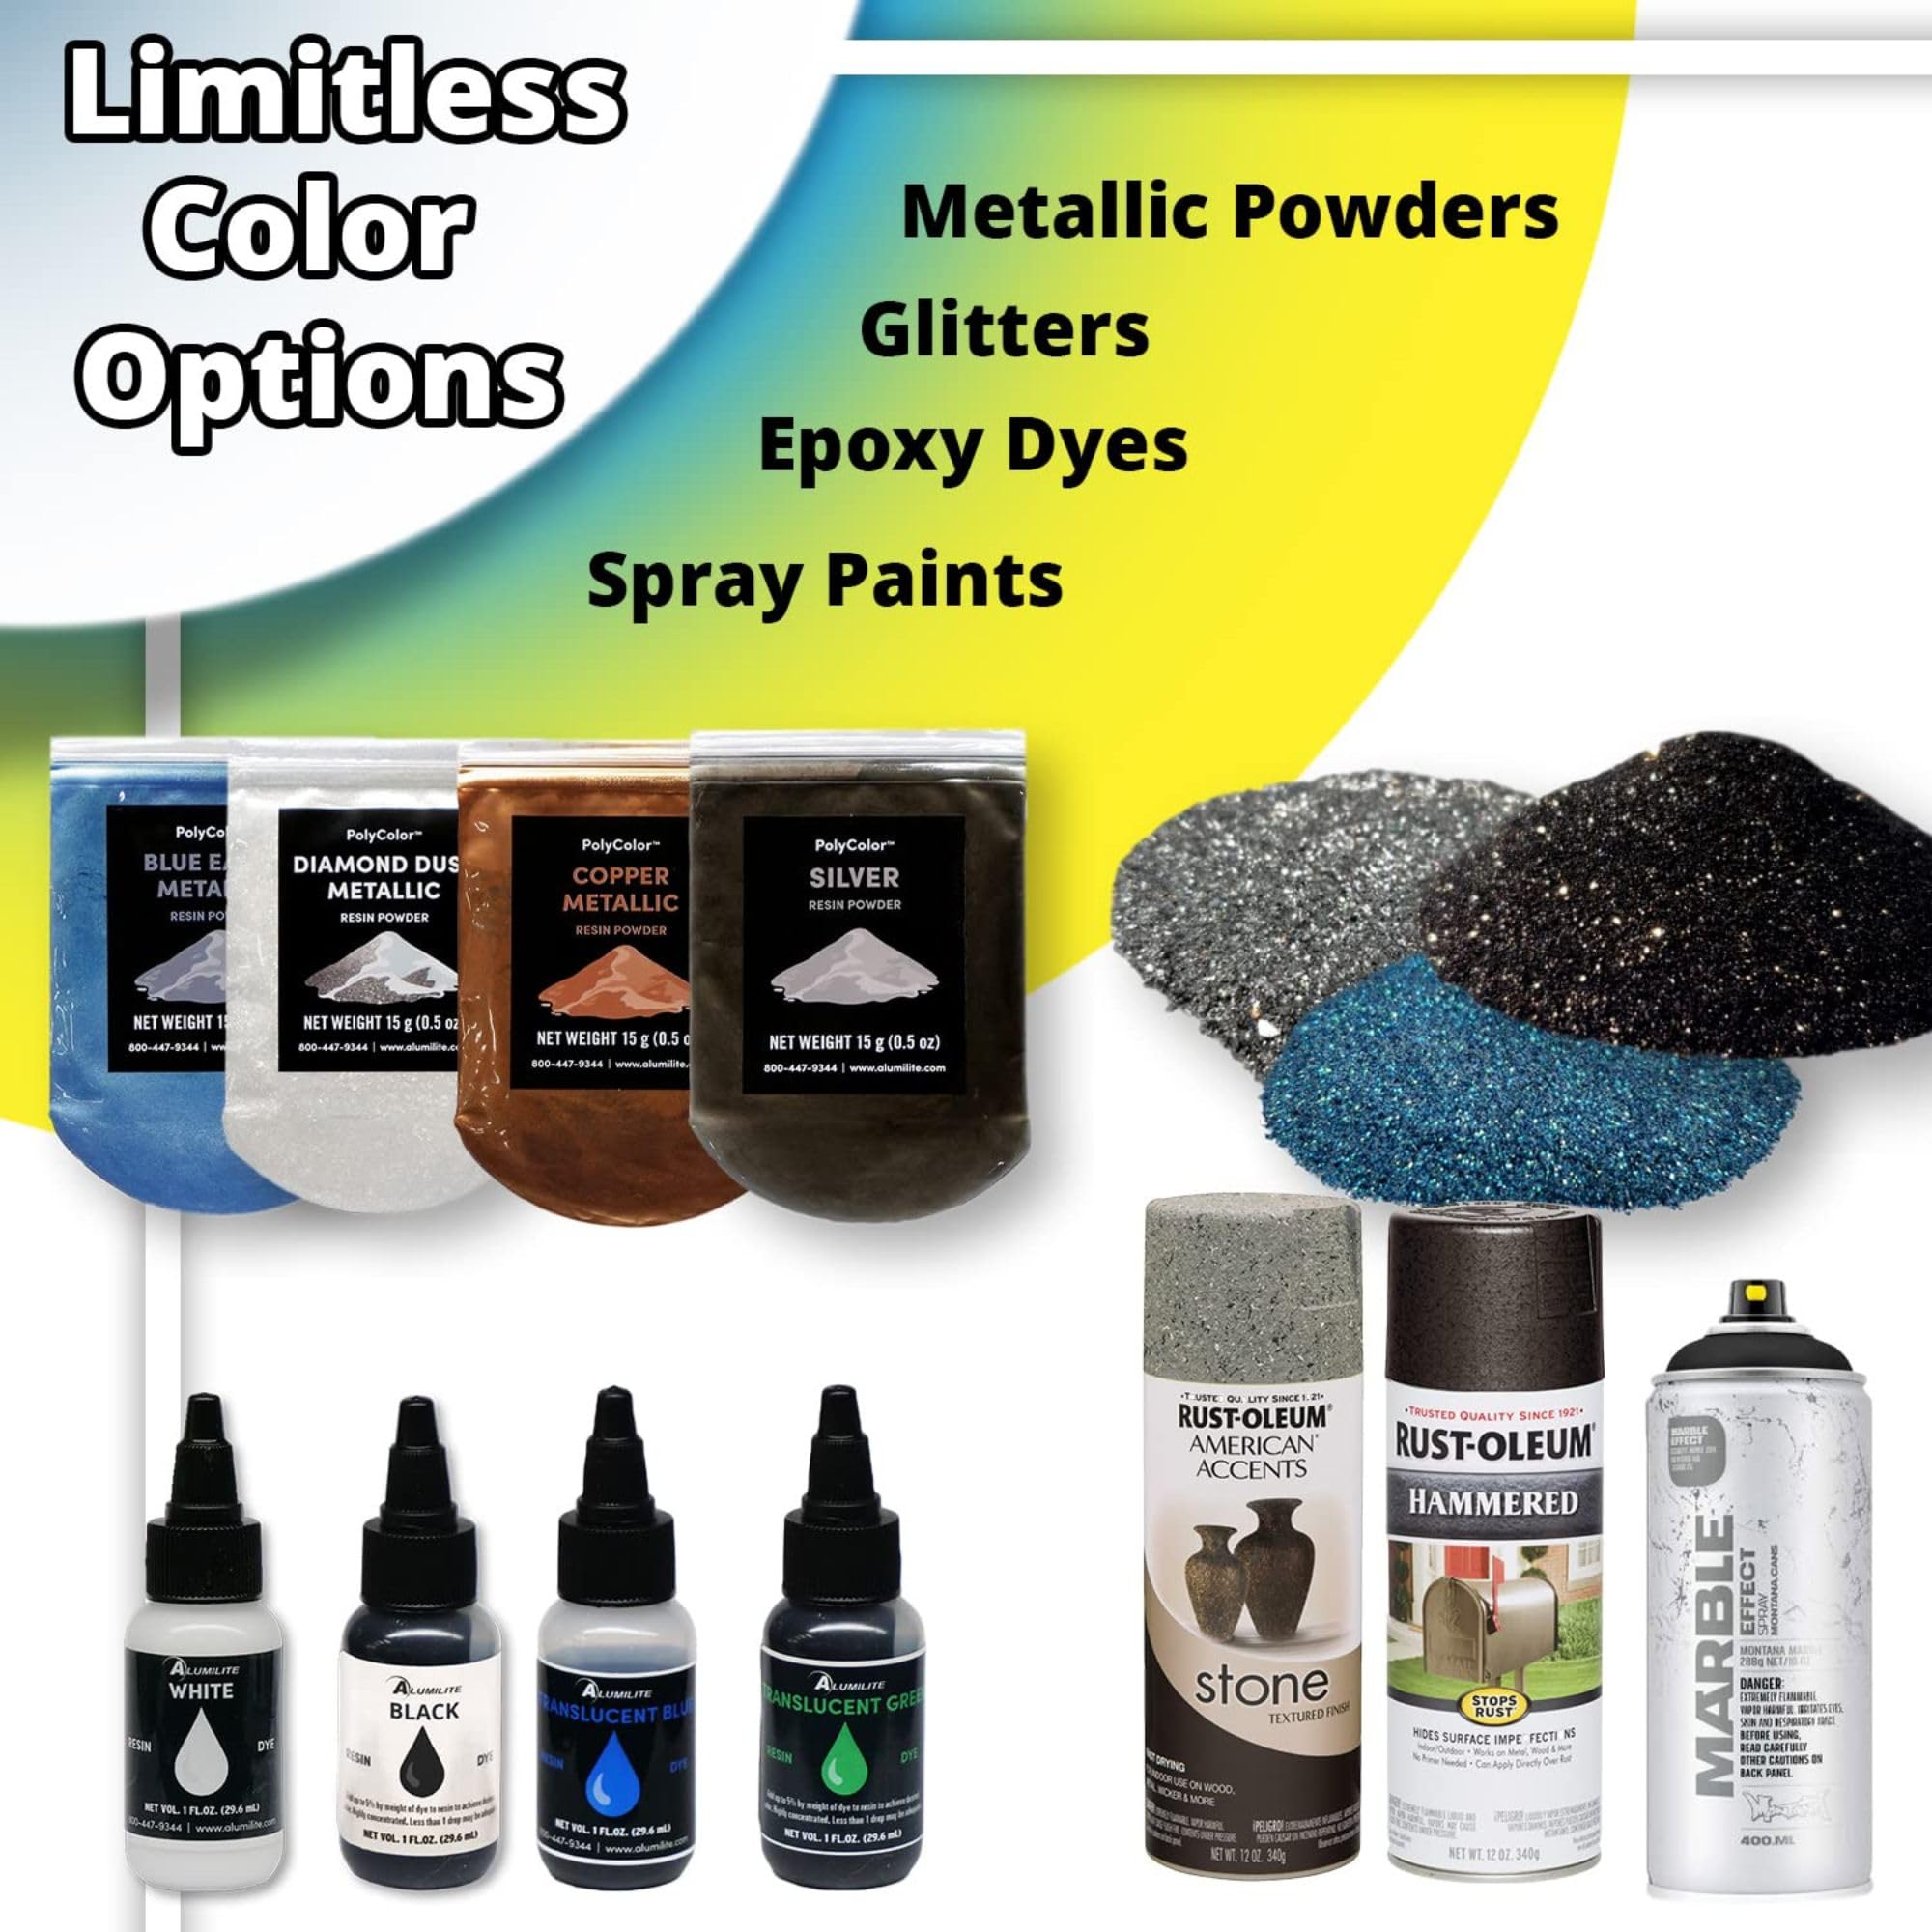
I was so nervous about my purchase and hesitant completing a project on my countertop. I washed a few videos and tried to prep myself. I finally decided to go forward and use the product.If you follow most of the instructions and videos it can turn out amazing. The best part is whatever pattern you do it will be yours and you will appreciate it even more when all said and done and it comes out pretty decent. My first piece I did I was nervous. I didn't do it as well as my second pieces. I did my countertop shaped like an L and around my sink opening. I did have my butane torch and a heat gun. I did have a small tile adhesive spreaderto move the epoxy mix as quick as I could. I did need several measuring cups about 6 for colors and about 2 larger ones for 2 countertop projects. I did use the mixing wheel to mix quick with the drill. I did buy glitter and white countertop epoxy base. I did buy a small black tint tube of color. I did buy Rust-Oleum copper and chrome spray paint to mix in my small measuring cups to pour the marble colors I chose to do. You can do whatever colors you want. Nothing is written in stone ... Once you pour your epoxy mix over your base color and spread you then use your paint mixing stick to draw your designs in with those colors next for whatever effect you desire. Once that is completed then you can use your butane torch to quickly turn on and off to expose the bubbles and then you can move the torch quickly and see them disappear. You use the heat gun to spread your marble drawings you did with a stick. These can me manipulated with the heat gun but don't keep on it too long or you will make the lines into circles. You have to put the heat gun at an angle and go close and away to apply heat and then back off and see the movement of your lines. Find what moves the way you like and then continue to do the rest. After the 3 hours wait time it down use your gloved hand and wipe the edges smooth of excess and also the sides as they need to be rubbed also from running off the countertop but if you dont it will look runny. I didn't know this until the first countertop project had dried. Moving forward I did the final coat with just clear expoxy mix to protect the effect you created and let the dry and leave for a day or 3 to harden and cure. It ends up glossy and smooth. My countertops both still looked 110% better than the salmon color it was prior. To maintain in future you can wipe clean. And they have polished to keep the shine. You do not want to cut anything on it. It will crash but you can always follow other videos on sanding and polishing back to a shine. Get cutting board and maybe a clear silicone heat resistant mat for busy areas around stove etc. All in all I recommend this product. I used 2 gallons to do an average size L shaped counter top and a 4ftx5ft island.
S**Y
Absolutely fantastic epoxy!
This stuff is amazing! So easy to use, clear instructions, great customer support, I would recommend it to anyone and everyone that wants to use epoxy for tables or counters or even small projects. Phenomenal!
R**T
Latest top coat
Its more expensive but its worth the price. The extended working time results in the best and flatest table top coat. I bought 6 or 7 other kinds of epoxy and none of them flattened like Stone Coat. I use cheaper brands for seal coats, river build ups, and first flood coats. I sand them smooth with 220 and use Stone Coat on top.
P**S
Worked beautifully
I recovered my bathroom sinks and this stuff work magnificently. It is easy to work with and haven’t had any negative issues or concerns.It is easy to drill out the faucet holes and sand down spots that I messed up.I poured over composite granite & Bondo , and used rust-oleum spray paint color.
A**R
Great Epoxy!!!
I love StoneCoat Epoxy!! I have completed small epoxy projects, but never large items. I did a lot of research and StoneCoat was always wonderful to send detailed info. Their YouTube videos are also very informative. This product is easy to work with if you follow instructions.
L**R
Definitely dries hard.
Rock hard. Bubbled like crazy. Skinned over in about 10-15 minutes & I couldn't get the bubbles out with the heat gun. I worked in several small batches rather then one large one. I followed the mixing instructions to the letter. Was an ¼ of an inch was too much? Maybe I should have split it into 2 layers. But I watched 15-20 videos of the youtube guy who does their videos. My experience was nothing like his. There was hardly any open time and I wasn't anticipating that many bubbles. We had to take a belt sander with 60 Grit because 120 barely scratched the surface. I was tempted to try again because it was definitely scratch resistant (lol), but I had a deadline and it took hours with a beltsander and limited time to do another pour. And then took another couple days to clean up the dust from the belt sanding experience. Maybe I had a bad batch, but I'm definitely leary of using this brand again. The other two resins I've used didn't act anything like this one, and it was not cheap.
J**B
Not for Seattle
If you live in a humid climate this product will not work. They sell you on how easy it is to pour but the aftermath of a failed pour means lots of goo, scraping, and no kitchen till it’s all better.
K**W
This stuff is the best!!
I’ve always been a huge fan of this company and it never disappoints. Plenty of working time, glassy finish, zero bubbles as long as you use a heat gun or torch every 30-45 for about 3 hrs after you’ve applied it to your piece. As always, I’m very happy with this product!
Trustpilot
2 days ago
3 weeks ago